
- BE CUTE.
- BE COMFY.
- BE READY.
I chose to hand sew my pillow, which was actually my first attempt at sewing something besides a button on a pair of pants lol. And If I can do it, you can do it. But sewing may not be your favorite thing. Never fear! This tutorial even has a no-sew option with a hot glue gun that will work just as well to save time and make life easier.
Here's what you'll need:

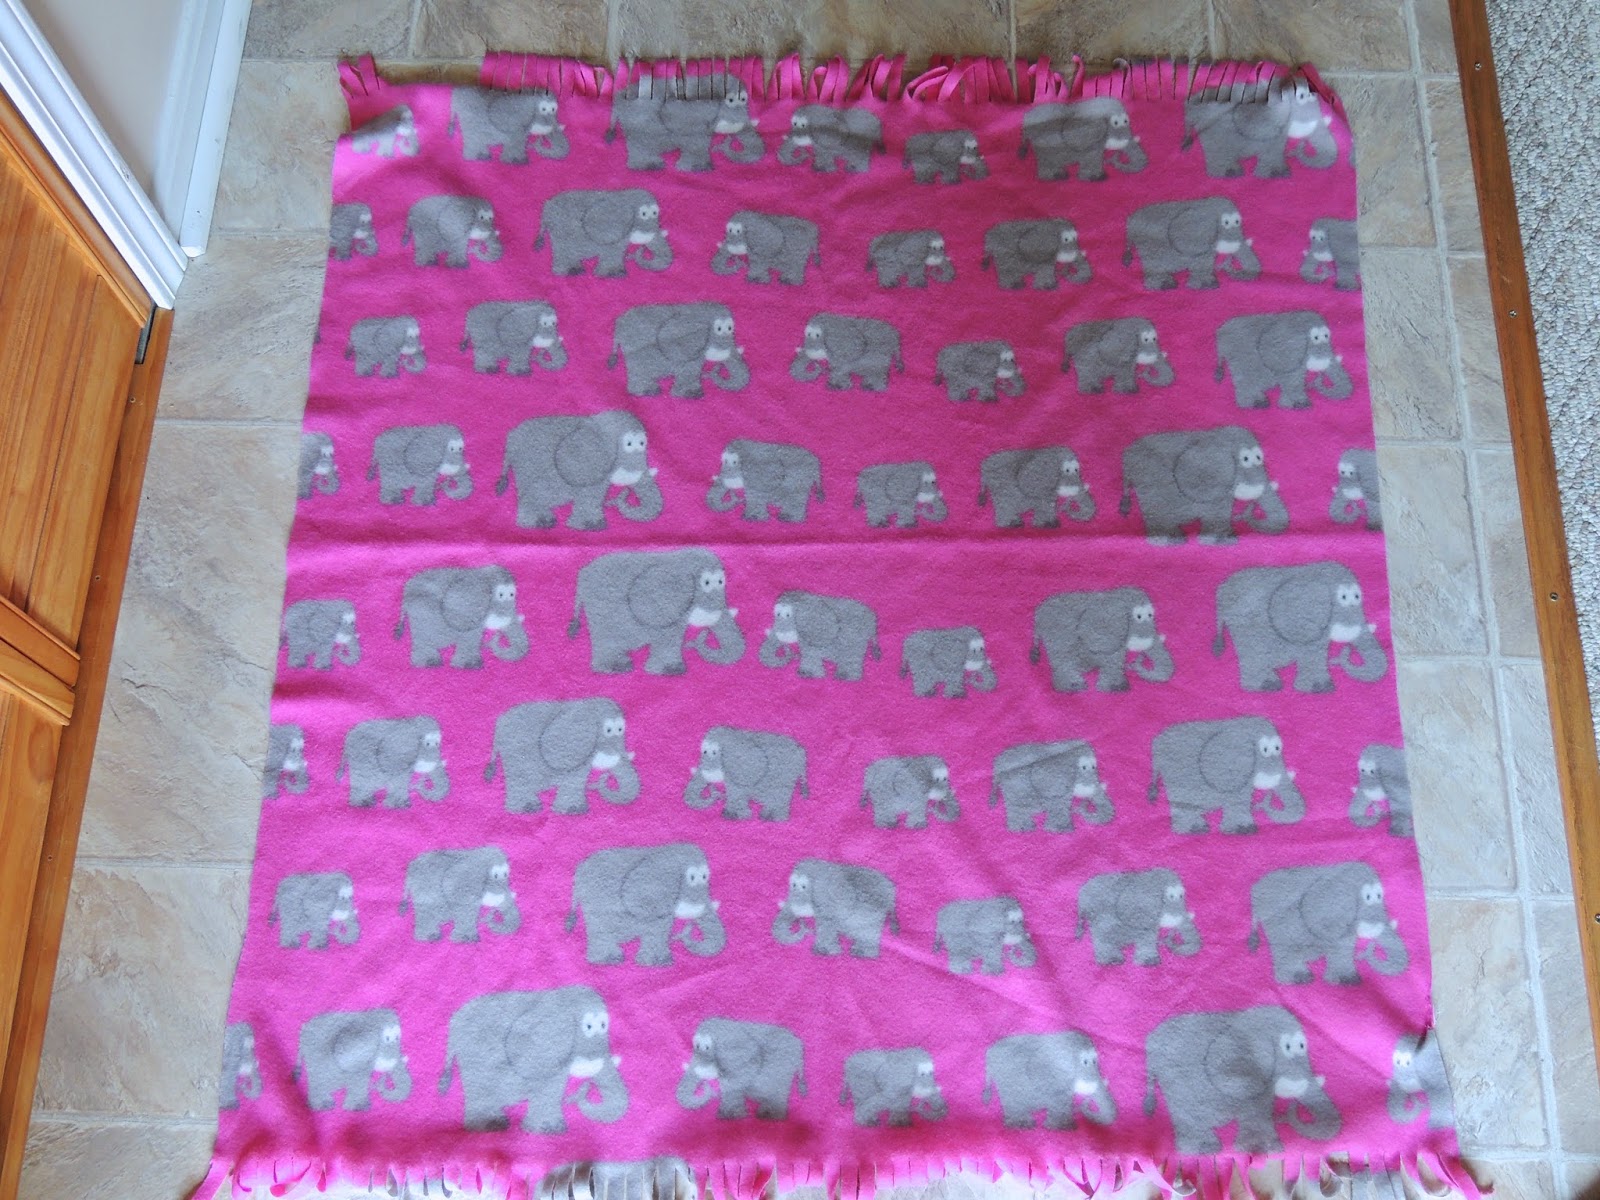
- Fabric - fleece, cotton, your choice! (The piece I had was around 40" x 40". I randomly had the piece of fleece that I used and wanted to repurpose it. Thank you, good friend, who gave this to me a few years back. It has served me well!)
- Pen or pencil
- Scissors
- Needle & thread *Alternative: Hot glue gun* (I would not recommend using the glue gun method if your fabric of choice is fleece. They probably won't get along too well.)
- Pins - this will help hold the fabric together as you cut & sew.
- Poly-fil - the pillow fluff! (I got my huge bag at Micheal's for $4.99, which I then used an extra 30% off coupon on. Love me some coupons.)
- Stencil (like the one here) or an old pillow to trace. (I used an old one we had to get an idea of how big I wanted mine to be.)
The Fun Part
Lay out your fabric good side up. If it needs ironing, go ahead and do that now (unless you are using fleece, which I don't think irons well).
Next, fold the fabric in half so that the good sides are now sandwiched in the middle.


Step 3
Pin the two layers of fabric together. The more pins you use, the more secure it will be! More security will help you keep everything lined up and intact as you are cutting out your shape and sewing. This is a very helpful step!
Step 4
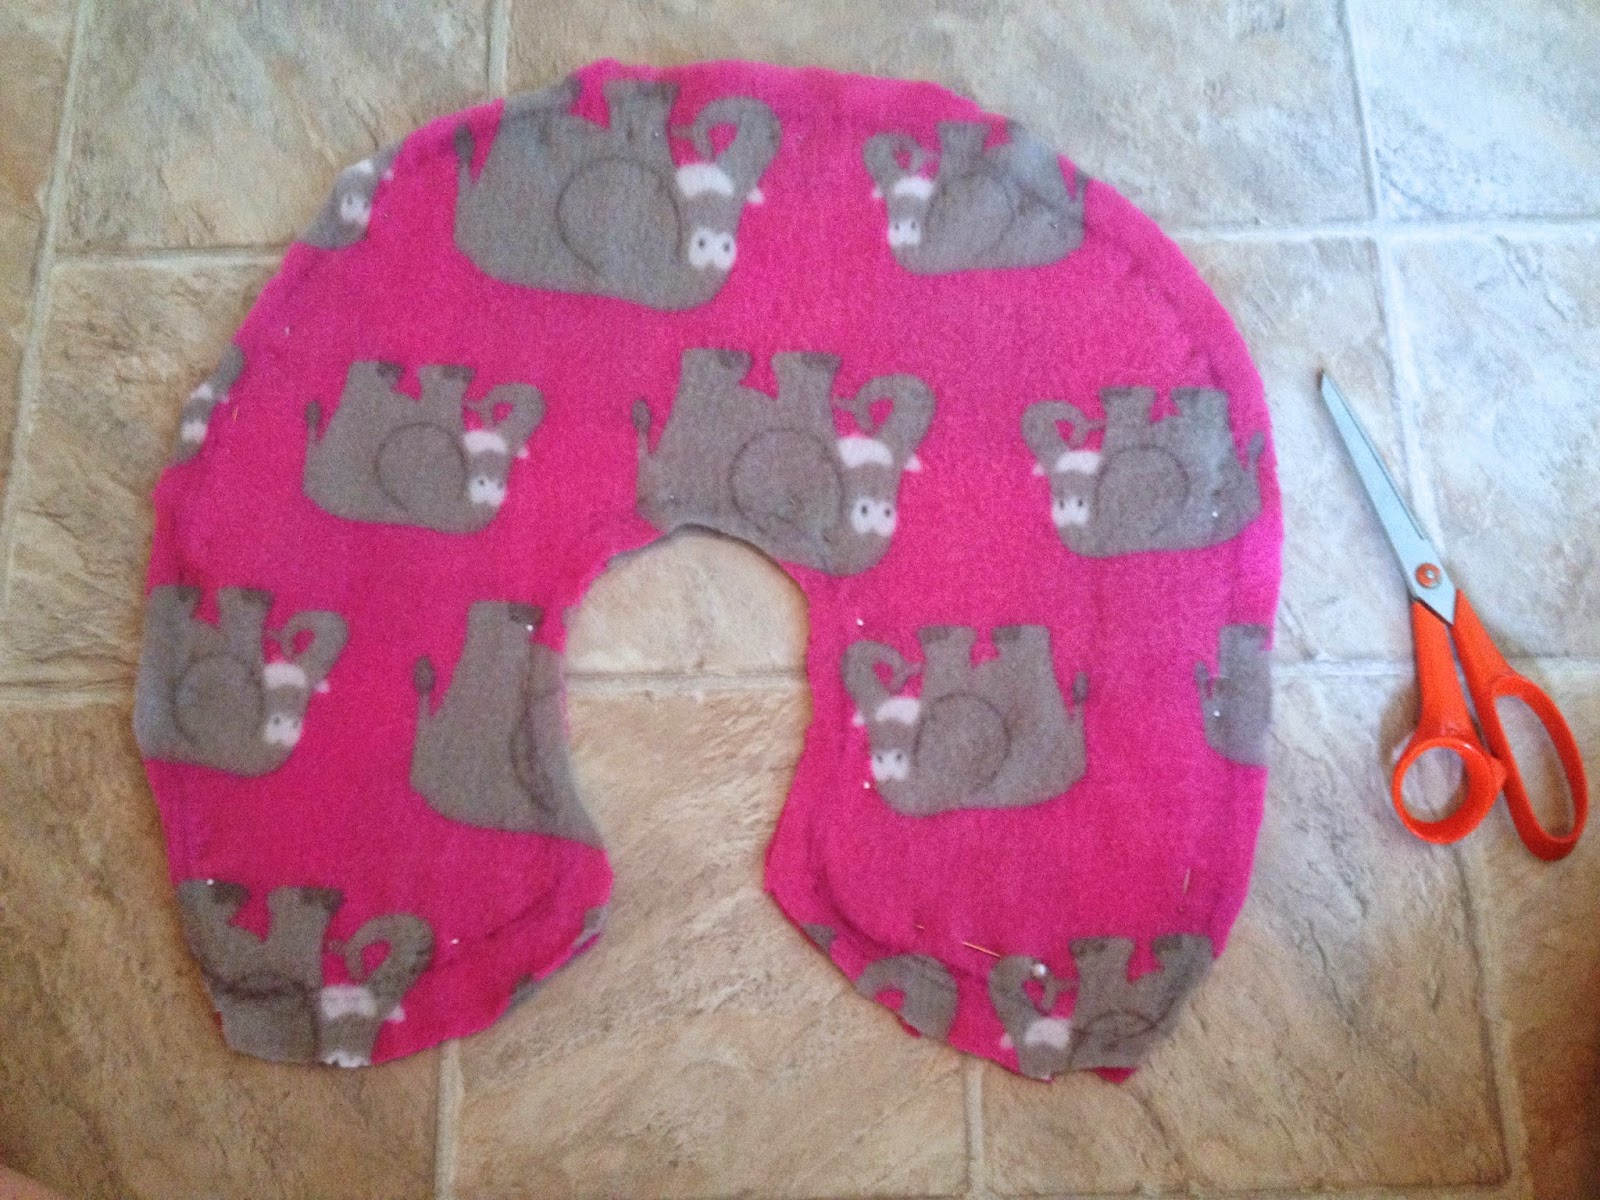
Cut 'er out. Leave the pins in and pin more if it starts acting crazy on you. Cut about an inch away from the line you traced.

Step 5
Get to sewing. If you don't know how to sew, there are tons of tutorials on YouTube that are really helpful (I checked out a couple, one specifically for sewing fleece). Sew along the line that you traced. The excess fabric outside of that line can be trimmed down once you're done (or not, if it doesn't need it).
Leave one edge unsewn! I would suggest the bottom edge of one side. This is how we will be able to flip it and stuff it later.
 *Hot Glue Gun Option* Leave your fabric with the good sides sandwiched in the middle. It's not as necessary to keep the pins in if you're gluing. Lift up the fabric as you go to put the glue in between the pieces and press them together. Glue fairly close to the edges, small sections at a time. Try to make the lines as smooth as you can. If you want a visual of this, check out LaurDIY's tutorial (skip to about 1:50). She's one of my favorites!
Step 6
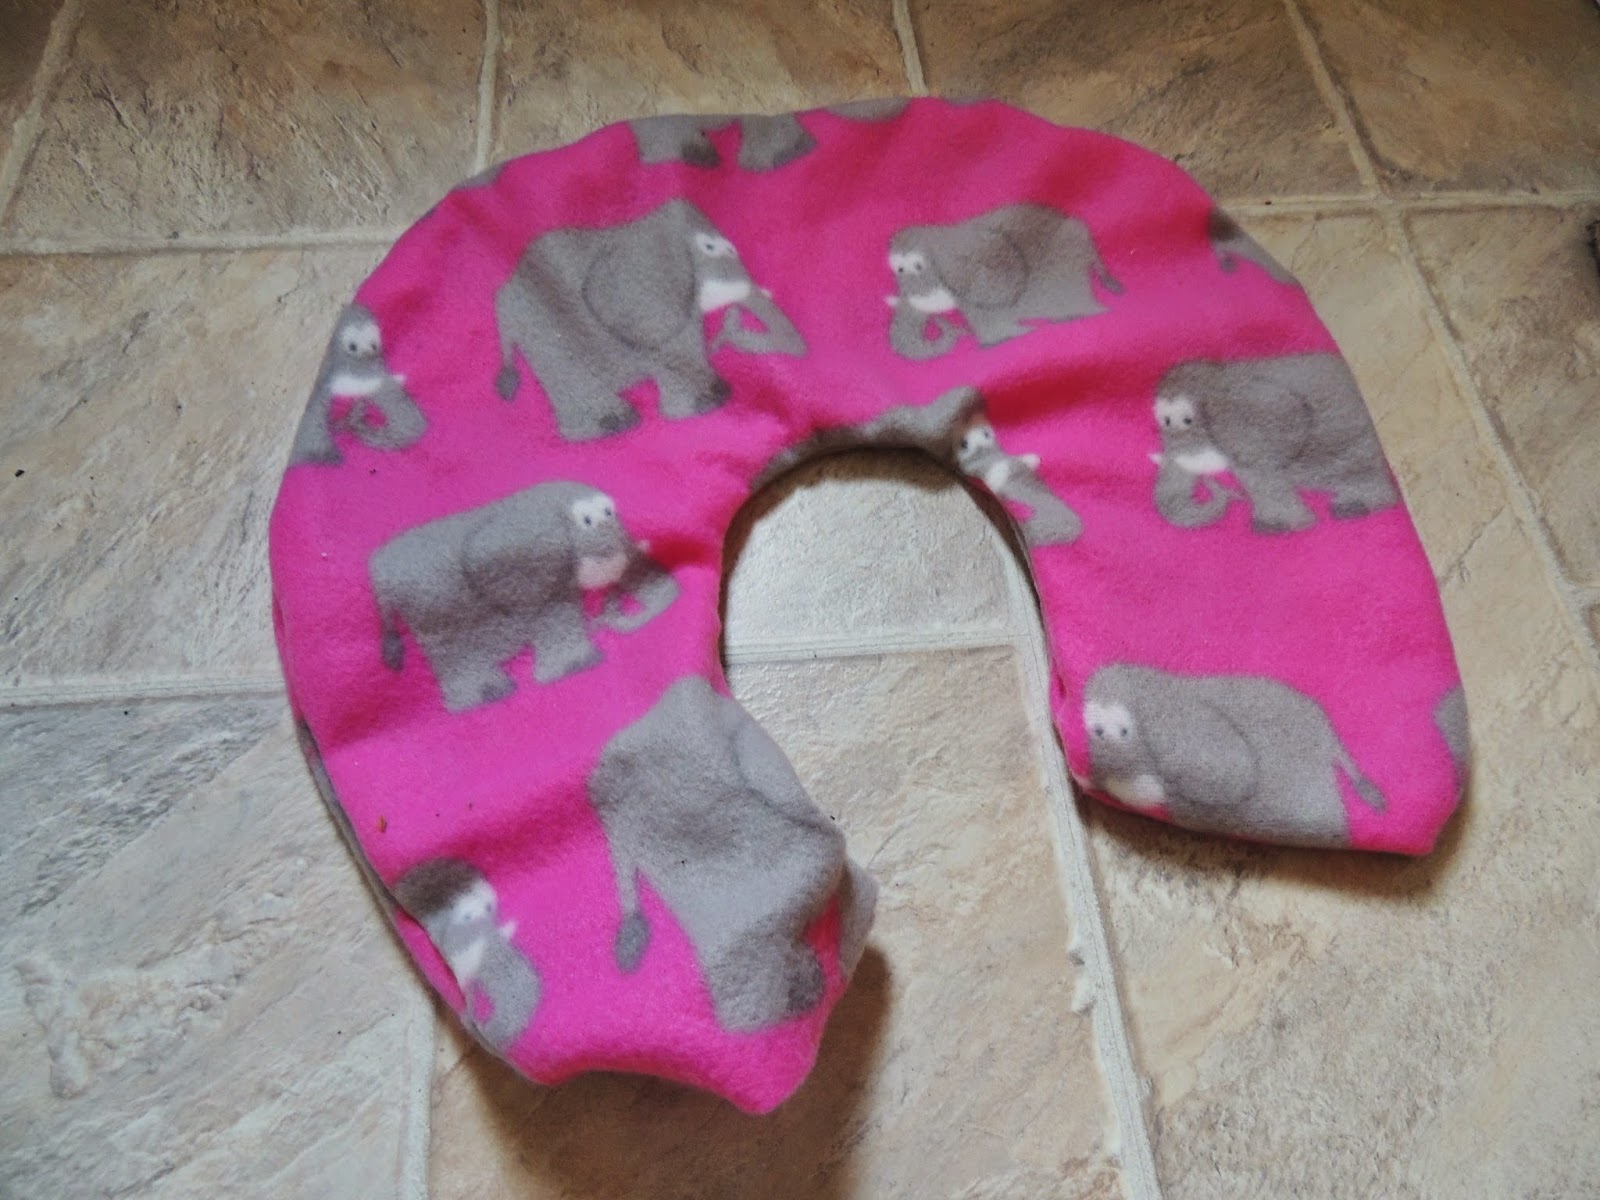
Once it dries or you're done sewing, flip it right side out.

Make sure to pull out all of the little edges now before you stuff because it will be MUCH harder if you try to correct this once you've already started stuffing. It should finally look like a pillow!


Next, fold the fabric in half so that the good sides are now sandwiched in the middle.
Step 2
Begin tracing the shape of your pillow directly onto the fabric. I used an old pillow to outline. You can also print out a picture to make a stencil (like the one linked above). Pen worked well for me, but pencil might work better if you are using a different fabric. You only need to trace on the top layer of fabric.
Pin the two layers of fabric together. The more pins you use, the more secure it will be! More security will help you keep everything lined up and intact as you are cutting out your shape and sewing. This is a very helpful step!
Step 4
Cut 'er out. Leave the pins in and pin more if it starts acting crazy on you. Cut about an inch away from the line you traced.
You will end up with two pieces pinned together that look something like this! Keep it inside out and pinned, and let's get sewing (or gluing...cheaters).
Get to sewing. If you don't know how to sew, there are tons of tutorials on YouTube that are really helpful (I checked out a couple, one specifically for sewing fleece). Sew along the line that you traced. The excess fabric outside of that line can be trimmed down once you're done (or not, if it doesn't need it).
Leave one edge unsewn! I would suggest the bottom edge of one side. This is how we will be able to flip it and stuff it later.
Step 6
Once it dries or you're done sewing, flip it right side out.
Make sure to pull out all of the little edges now before you stuff because it will be MUCH harder if you try to correct this once you've already started stuffing. It should finally look like a pillow!
Step 7
Stuff, stuff, stuff to your heart's desire!
Step 8
Sew or glue up the open end - and you're done!
I'm beyond happy with how mine turned out. I will definitely be using this A LOT on my vacations this summer. It's so much cuter than a store bought boring pillow and come on, seriously, how cute are those elephants?
Travel cuteness raised to level 1000.
Happy pillow making! xx
No comments:
Post a Comment