Showing posts with label moving. Show all posts

Thursday, September 21, 2017

CHALK PAINT MAKEOVER: COFFEE TABLE (PART 2)

About 3 weeks before we moved to Illinois we were heading over to my sister-in-law's house for a little summer cookout. We were just a couple houses away from our destination when I noticed a huge pile of garbage/furniture thrown to the curb at another house on her street. I really didn't think anything of it as we passed. Then, something caught my eye in the rearview mirror. It looked like a decent coffee table, leaning on it's side in the grass. I couldn't even see the entire thing. We had just sold our coffee table and end table set, so I thought to myself that it couldn't hurt to look at it, could it? It was probably junk since it was on the curb ready for trash pick up. I quickly said hey to everyone at the cookout before I dashed down the street to take a look at it anyway.

And behold, it was a huge coffee table with gorgeous detailing and structure. It was real wood, but it had definitely seen better days.

BEFORE 


Sooooo you better believe I shoved that baby in our car. A few days later it was loaded onto a moving truck headed for Illinois with us. You can see it in the early stages in the picture of our living room at the bottom of this post. 

I finally got around to redoing this piece around the beginning of September. There was a LOT of sanding and filling to be done on this table.


If I'm being totally honest, the top part still did not turn out as smooth as I would have liked it. I'm not sure if it was just too scratched up to really fix well, or if I should have sanded it even more after the wood putty. Still, I love the way this (*free*) coffee table turned out after the paint job. And in the season of life with a little baby who loves to bang toys and crackers on our coffee table, it's not the worst thing to have something we don't have to worry about.

The coffee table was redone just like the end tables I blogged about last month as Part 1 of this post, but with a little something special. Instead of painting it all gray, I painted the table top with the same Rustoleum "Aged Gray", and the bottom half with Rustoleum "French Cream" (which actually appears more white than yellow in person). THESE COLORS, y'all. I love this combination so so much.


The thing that you HAVE. TO. do with chalk paint is seal with a wax. It is a must. I tested that theory out on this coffee table. I kept it in use in our living room without wax for a little over a week, and I had to physically clean finger prints and dirt smudges off of the table with a damp cloth multiple times over the course of that week. Everything clung to the dry, chalky surface of that table. That aint happenin'. So I finally threw on the wax and it made allllll the difference. 
So be sure to pick up some of this stuff when you are picking out your paint. It will last you a very long time, too! 


AFTER 

This was pre-wax (look how dry it looks!), but it gives you a really good idea of the color combination.


I had a ton of fun painting these three pieces of furniture...annnddd now I'm ready to sit back and enjoy them! I hope these posts have been helpful or have inspired you to go out and do something of your own. And be sure to send me pictures! 


Tuesday, August 29, 2017

CHALK PAINT MAKEOVER: END TABLES (PART 1)

I am a sucker for cheap furniture that can be repainted. If I wasn't completely creeped out by Craigslist, I'd probably be on there looking for free furniture all the time. Plus, I'm sure my husband would love me turning our rental condo into a workshop. 😂    

In fact, this is not my first furniture makeover blog post! So for a detailed description of my entire process and the materials I like to use, check out this post about redoing Charlie's baby dresser

Back to the main agenda ---> This is going to be a two part blog post because it was done as two separate projects. Part one was redoing these two end tables, and part two was a coffee table (but more on that later). I started this first project in the last two weeks of packing to move to Illinois. Nothing like adding a little extra fun to the moving to-do list!


BEFORE 
Unfortunately I didn't take a completely before picture. But you can get the idea of what they looked like pictured below, even though some primer and wood putty had already been applied. The end table on the left was my grandmother's (Thanks for passing it to me, Mom!) and the one on the right was a Facebook yardsale page find for $10. Those yellow drawers were the original color of my grandma's end table to give you an idea. 


HOW TO 
There are generally 4 stages to this process that I have found to work really well.  And they are:
1) Sand 
2) Fill holes/dings with wood putty 
3) Prime 
4) Paint
And since this was a chalk paint base, there was a step 5) Seal with a wax.

The exact materials I used for sanding, filling in holes in the wood, and my favorite primer are listed in my first furniture DIY post.  

Supposedly one of the advantages of using chalk paint is that you don't need to use a primer first. That may be true. I didn't really see a reason why I wouldn't just go ahead and prime while I'm working on it anyways, and since I knew I liked this primer that I used last time I went for it. Maybe one day I'll try another chalk paint project to try without priming, but I didn't want to test that on these pieces.

Once the sanding, filling, and priming were complete, I got to painting! I used Rust-Oleum Chalked Paint in Aged Gray that I purchased from Home Depot. I chose to do a can of paint + paint brush, but it also comes in a spray paint. I found that the can of paint would go a lot farther than the spray paint would have. You can probably count on using around 3-4 cans of spray paint vs. just the one can of paint. But if you don't actually enjoy the act of painting with a brush, maybe the spray paint route would be better for you.

This shade of gray was exactly what I was looking for! It's a beautifully light and simple gray color, not too "antique", not too dark, and not too white. If you're looking for a color that gives the impression and brightness of white, but isn't white (so that you don't see EVERY dirt mark) this is the color of your dreams.

WAX
Since I used a chalk paint, I definitely needed to use a wax coating as the final step. Chalk paint naturally dries chalky and very "unfinished" looking. Because of this, chalk paint is very vulnerable to water spots and dirt, so it needs the extra layer of protection from the wax. I used Annie Sloan's Clear Soft Wax with a rag to apply the wax. Much needed final step!


I planned to change the hardware pieces on both of the drawers, but only ended up changing the hardware on the single drawer end table because that's the only one I could find a perfect fit for! I could not find ANY drawer pulls that was the right size for my grandma's end table. (And I did not have time to fill/drill new holes sooo I just kept the originals.) But as it turns out, I actually love the original hardware on my grandma's table with the new paint job. 

Hobby Lobby regularly has 50% off sales on their drawer knobs and pulls. The first time I went in to look for new ones for this project, they were not on sale, but just a few days later when I went back they were! So my advice is to wait for the sale to get the best deal, because chances are you won't have to wait that long. 


AFTER
These end tables are some of my favorite pieces now in our apartment in Wheaton. One is beside the couch and the other one is in Charlie's room. SO pleased with how they turned out!


CHALK PAINT FOREVER? 
Do I love chalk paint? Ehh. Yes, I love how QUICK it dries. I love the color options specific to chalk paint (I'm a fan of the shabby chic look, if you can't tell). I love that Home Depot carries various brands of reliable chalk paint, AKA you don't have to spend an arm and a leg on Annie Sloan. But that's about it.

As far as the overall look, it wasn't really anything more amazing than when I redid Charlie's dresser with a latex based paint. And you pretty much have to do a wax coating if it's a piece of furniture that will see a lot of traffic like finger prints, cups, babies banging toys on, etc. So that was an additional step that I didn't have to do last time.

What about y'all? Is there something amazing that I'm missing about the chalk paint hype? I am super happy with how it turned out, but I don't think I will be particular about using chalk paint exclusively in the future. Let me know your thoughts!

Sunday, August 13, 2017

BEING TOURISTS - BUT WE LIVE HERE.


Saturday we took our first train ride into Chicago. Yay, adventure! It was quite the learning experience - good and bad. I was nervous about the logistics (like way too nervous for no reason, sorry Honey) and nervous about how Charlie would do. We felt all the "we're from out of town" vibes during the first hour or two of navigating haha. Both of us had been to Chicago before, but it was our first time relying on public transportation and being on our own.  

We caught the Metra at the station in our town and made our way on for the hour long train ride to Chicago. I had my arsenal of board books, toys and gadgets, snacks, bottles, and the baby wrap juuuust incase. Charlie did like the train itself- he liked looking out the window, the crowd, the noise (and making his own), and all of the people nearby he could charm. However, he has never been what you would call a "lap baby." So, having to sit with us for an hour was not the most fun thing for him, but we survived. 
The original plan was to meet up with some friends from KY who were in the town for the weekend, but that would have meant taking the L (Chicago's elevated subway) another 30 minutes north to get to the Lincoln Park Zoo (have I mentioned Chicago is HUGE?). And after riding for an hour already, we just knew Charlie would not be happy about another train ride immediately following. So we had to scrap those plans and make new ones - parents gotta be flexible!

Thankfully he conked out in his stroller after walking around for a little bit, and we were able to make the 25 minute walk over to Millennium Park with him snoozing! The weather could not have been better. We honestly didn't do much more than ride the train, walk, hangout in the park, walk back, and then ride the train home, but it was a lot fun.  

We'll be back for more, Chicago - we're already planning the next trip. :) 


Waiting at the train station. This is his response to almost everything right now - it's ADORABLE.


Millennium Park


Heading home!

Saturday, July 22, 2017

OUR FIRST MONTH IN ILLINOIS

If you didn't already know, we moved this month! We've been residents of Wheaton, Illinois for almost 4 weeks now and are down to like...3 boxes unpacked? That's not bad if you ask me. ;)

Moving is H A R D work. This was my first big move ever (let alone to a new state). Two days before the moving truck was scheduled to arrive, my 80 year old Mamaw came over to help with (what I thought was) the final boxings. Heh. Let's just say she was NOT convinced we were going to be ready to move and she kicked out butts into high gear. Don't underestimate her, y'all. We really needed her help that day.

The moving day itself didn't go without a few hiccups, of course. Let's see....first the moving truck showed up a day EARLY. They came back again on the right day and all was well, but then we ended up leaving at a different time than we expected which made things a little hairy for a minute, but we were glad we left when we did.


We pulled out of Louisville, Kentucky around 7 p.m. on Thursday, July 29 with 3 cars caravaning and my in-laws along for the adventure. It's a 5 hour drive without stopping, but 6 hours is more realistic especially with a baby. But the drive that night took 7 hours. It was probably the worst trip we have ever made up here to be honest haha. It was 1) getting dark,  and 2) we drove through a heavy thunderstorm which slowed us down pretty significantly in the middle of the night. My husband had the wonderful idea of getting a hotel for the first night in town so that we wouldn't show up to an empty apartment at 2 a.m. and it was suchhhh a blessing to have showers and comfy beds after the long drive. At 7 a.m. that same morning, Samuel met our landlord and the movers at our apartment and we were officially moving in!

We were so thankful for Samuel's parents who drove with us and helped us get the place livable that first weekend. I don't even want to imagine what it would have been like without them. They even made a quick trip with us over to IKEA (which is only 20 minutes away *cue hallelujah chorus*) to buy our new living room furniture, and THEN helped put it together. Like I said, it was a tremendous help to not do this alone.


Here are some highlights from our first month in pictures:


Our new neighborhood 

Charlie's first parade on the Fourth of July!

Deciding which IKEA couch he liked best.

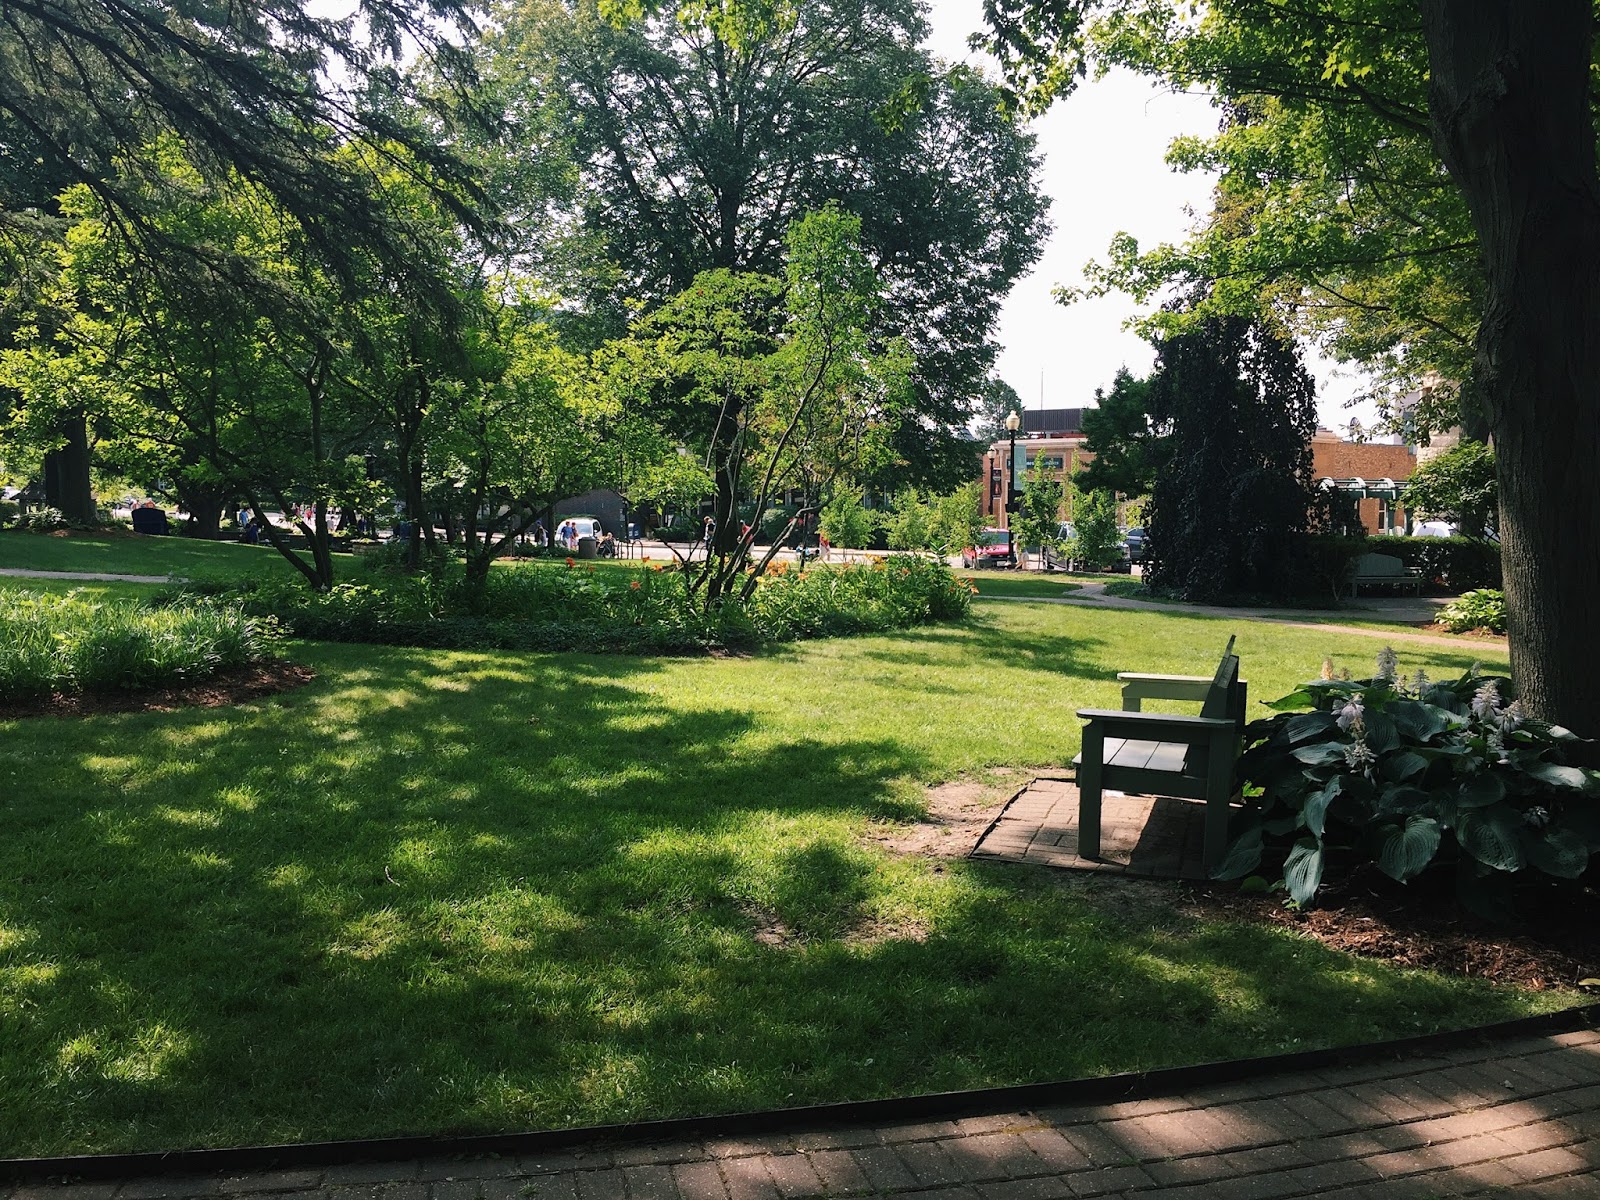
Checking out once of the many parks in our town.
There are only 23 different playgrounds in the Wheaton Park District. So fun!

Looking into our little backyard. :)


Adams Park, right behind the library


Classic car show on Friday nights in the summer


Backyard playtime!


Don't mind that roughed up coffee table - it's my next big project. :)


90% of why I love this little condo: this big sliding door in the kitchen/dining room. If you knew my last kitchen, you will understand my excitement. 


 Geneva, IL 

Geneva Air Fair


Way to go if you made it to the end of this long post! We miss Louisville, but we are enjoying our new adventure here too. We are even coming back for a visit at the first of August because CHARLIE IS TURNING ONE. We're so looking forward to that!

Thank you all for the help, prayers, and FaceTime calls in the last little bit. We are giving so much thanks to the Lord for His gracious hand in it all. Praise the Lord for his good gifts!
Related Posts Plugin for WordPress, Blogger...